There are a lot of websites out there with information about parakeets. Most of these websites are difficult to navigate, have very “scientific” articles, or contain the kind of information that makes me run away screaming! Once I found the information I was looking for, I noticed very detailed instructions and specific tasks that must-be-done-or-your-birds-will-die, some of which was contradictory to other information I had read. For example, one website said that I would need special lighting so that the baby birds would get the necessary vitamin D and warmth they needed to survive. Another website said that I would need a syringe and the ability to “bottle feed” the babies. I’m not proposing that other people do what I am going to do, but I have decided to go a more “natural” route. What would the birds do if I (the human) wasn’t around? In the wild, there are no special lights, pens to mark up eggs with numbers, or syringe bearing animals to feed babies.
After weeding through the myriad of information about “proper” breeding, I purchased all of the items “necessary” for nesting birds. Based on several websites I read through, you need several things to set the mood for parakeet breeding:
- Egg Laying Basics
- A Nesting Box, hung inside or outside the cage
- Bedding on top of the wire at the bottom of the cage
- Nesting materials (string, cotton, wood chips)
- Health Basics
- Mineral Stone
- Cuttle Bone
- Grit
I purchased the following from my local pet store, based on my knowledge at the time. It has only been a few days and already my understanding of the “necessities” has changed a little lot.
The Nesting Box – All Living Things Parakeet Nesting Box. The photo doesn’t show it clearly, but there is a small hole right below the entrance to the box. It holds a perch which was inside the box I purchased. I am not using this perch as it impedes the nesting area. The nesting area has a concave cutout for the baby birds, which is important for preventing splayed legs. At least, this is what I read. 🙂
-
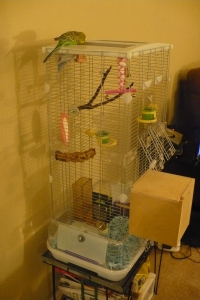
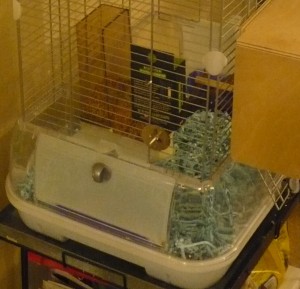
My Breeder Cage Setup up, with nest box.
My parakeets live in a Hagen Vision II, which is H-U-G-E for two little parakeets. The reason it is great for the nesting box is that the door clasps come off of the cage. They just snap off, making it really easy to hang things from the “opening” that are flush with the cage. I attached the box to the cage using a 1 1/2 inch screw, 2 washers, and a wing nut.
-
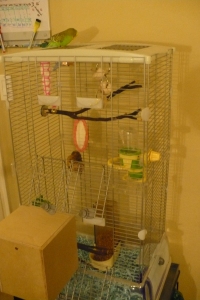
My Birds' fancy Hagen II mansion
The nesting box for my two birds takes up the left hand door on the lower set of doors. I can still open and close the right side door. I love that there is no divider between the doors, so it is possible to have a huge opening for getting things in and out of the cage.
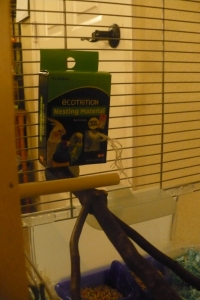
Budgie Nest Lining
The Nesting Material. Being a complete novice at this whole thing, I probably went a little overboard on my nesting material purchases but like I mentioned earlier, these websites scare the bejeezies outta me! My little birds got a nest lining, cotton, and a paper fiber (instead of wood chips).
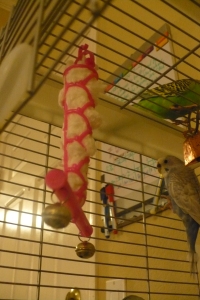
Budgie Nesting Cotton in Millet Spray Holder
The nesting lining comes in a little box that can attach to the inside of the cage, and is meant to be placed near the nesting box. I am sure the bird puff cotton is supposed to go in some sort of special container too, but I used what I had and place it inside a millet spray holder.
Budgie Paper Fiber Material
Finally, I purchased a paper fiber bedding to cover the ground (having something to forage in is supposed to encourage nesting behaviors) and to act as a cushion in the nesting box. I have since seen several breeding videos for parakeets, and it doesn’t look like the nesting fiber is used very much for the babies, but at least I have the egg-laying basics covered!
For the health of my hen, I purchased several items. Creating and laying eggs takes a lot of calcium, vitamins and minerals out of the female, so she needs to replenish these in her body to survive and be healthy. I opted to get a mineral block and cuttlebone in one, instead of purchasing them separately. Generally, my hen will destroy anything that is attached to the cage instead of eating it, so this is one less thing for her to destroy. Fortunately, the Penn-Plax 2 in 1 is also contains iodine, in additon to the calcium in the cuttlebone and other minerals from the block.
-
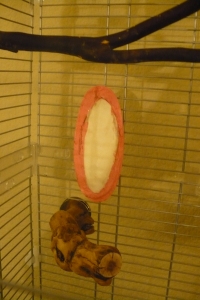
Mineral Salt with Iodine and Cuttlebone
In the event that Laurel and Hardy don’t take to the Mineral block/Cuttlebone, I also picked up some oyster shells. This is solely to Laurel’s benefit, as it contains lots of calcium for strong bones and hard-shell egss.
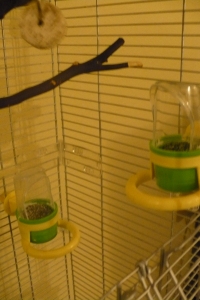
Grit and Oyster Shells
Of course, I also made sure I had plenty of grit available. Grit is not necessary specifically for breeding, but it helps the birds digest their food better.
For a little fun, and since it’s been awhile since I purchased anything this “fancy” for my pets, I picked up some yogurt covered papaya (which they both love) and some dehydrated greens for them to snack on.
-
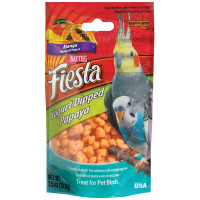
Yogurt covered Papaya courtesy of Petsmart.com
-
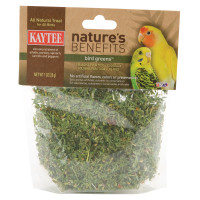
Dehydrated Greens courtesy of Petsmart.com
One last thing I purchased was a large bird feeder. This feeder is intended for much larger birds, but it is perfect to sit at the bottom of my parakeet cage. I read somewhere that my breeding budgies will go through a lot of food over the next few weeks/months, so having additional feeders is beneficial.
-
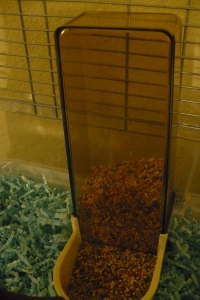
Large Feeder for mating budgies
***I used photos from Petsmart only because that is where I happened to purchase these particular items***
Read Full Post »


